7. Bringing Imported Snippets Into a Scene
After importing a Snippet Set, the SDK generates Unity prefabs for each snippet in the configured generated folder. This section covers the normal workflow for getting those prefabs into a scene and verifying playback.
7.1 Locate the generated prefabs
- Open the generated snippets folder (
Assets/My Snippets/). - Open the subfolder created for the imported Snippet Set.
- Identify the generated snippet prefabs (one prefab per snippet).
What to expect:
- The imported set produces a folder named after the Snippet Set.
- Raw files are stored separately (inside the set’s raw subfolder), while the generated prefabs are the assets you usually drag into scenes.
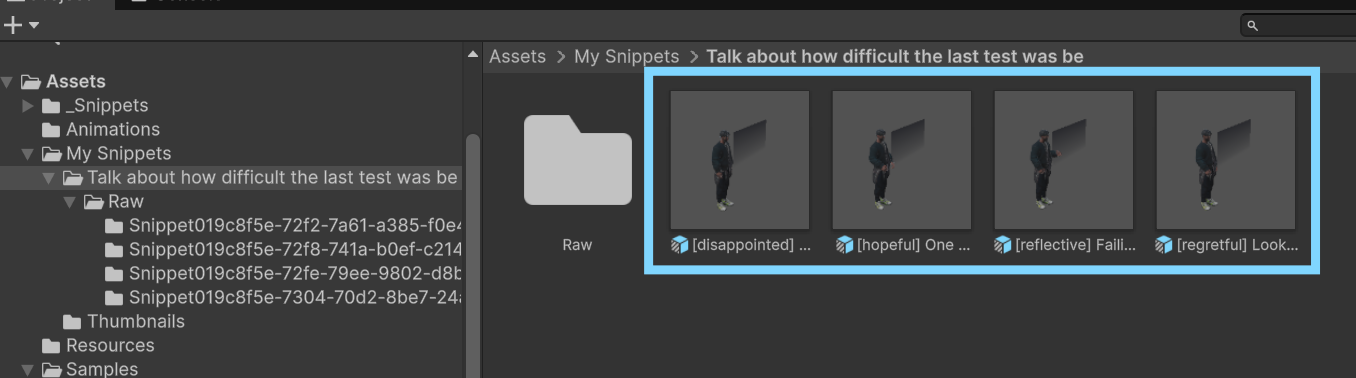
Imported Snippets prefabs
7.2 Drag and drop a snippet prefab into the scene
- Drag a generated snippet prefab from the Project window into the Hierarchy or Scene view.
- Position the instance in the scene as needed.
- Confirm the prefab instance appears active in the Hierarchy.
What this gives you:
- A ready-to-use snippet GameObject with SnippetPlayer and its child playback components.
- A quick way to validate audio, text, and animation before building orchestration logic.
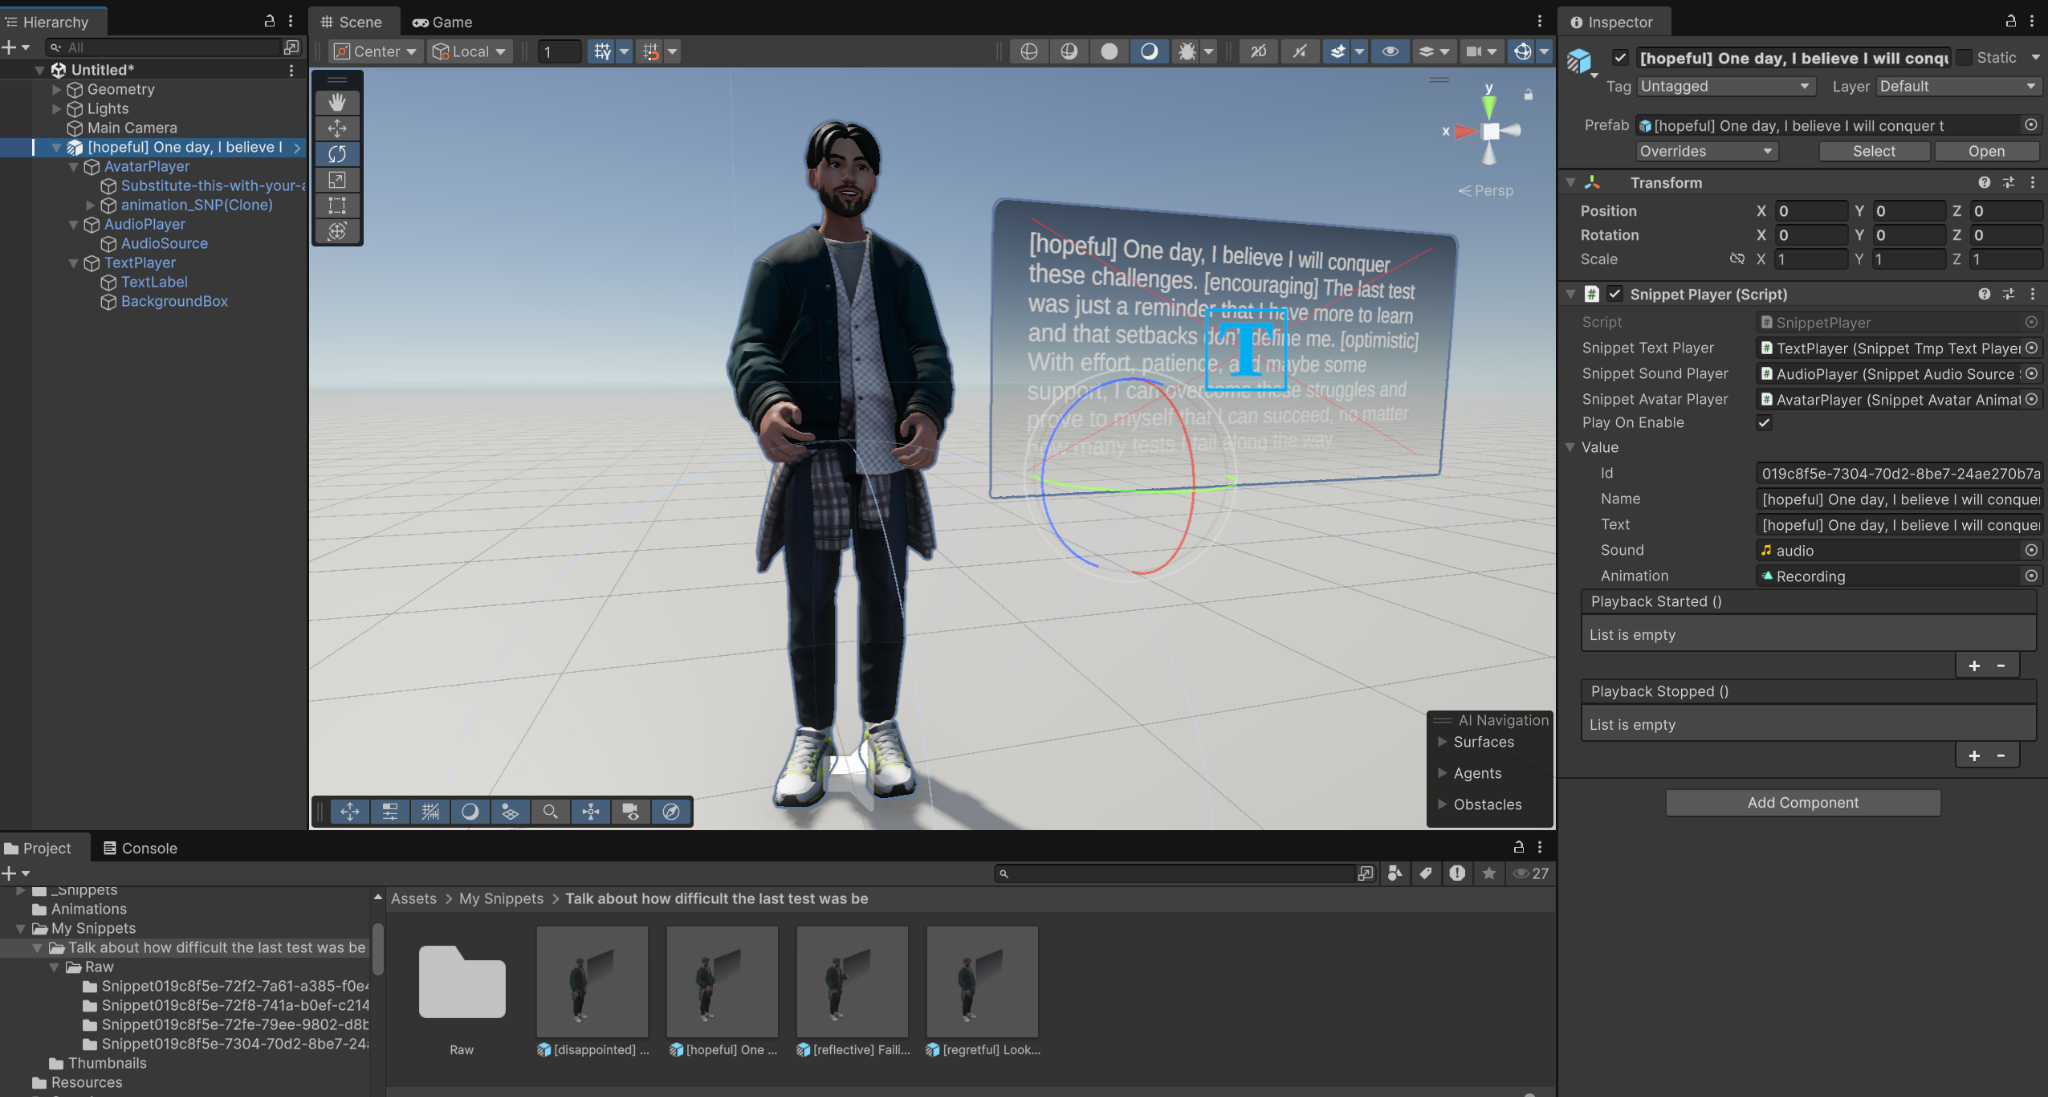
A Snippet set in the scene
7.3 Standalone autoplay (drag-and-drop “just play” behavior)
Required setting: On the root SnippetPlayer, keep Play On Enable enabled (default).
7.4 Quick validation checklist (standalone)
Enter Play Mode and verify:
- The avatar animates.
- Audio plays (if your template includes sound playback).
- Text/captions appear (if your template includes text playback).
- No relevant Console errors appear.
← Previous: Import, Update, Remove Snippet Sets
Next: Setting Up A Scene With Helper Tools →